Glass Bottle
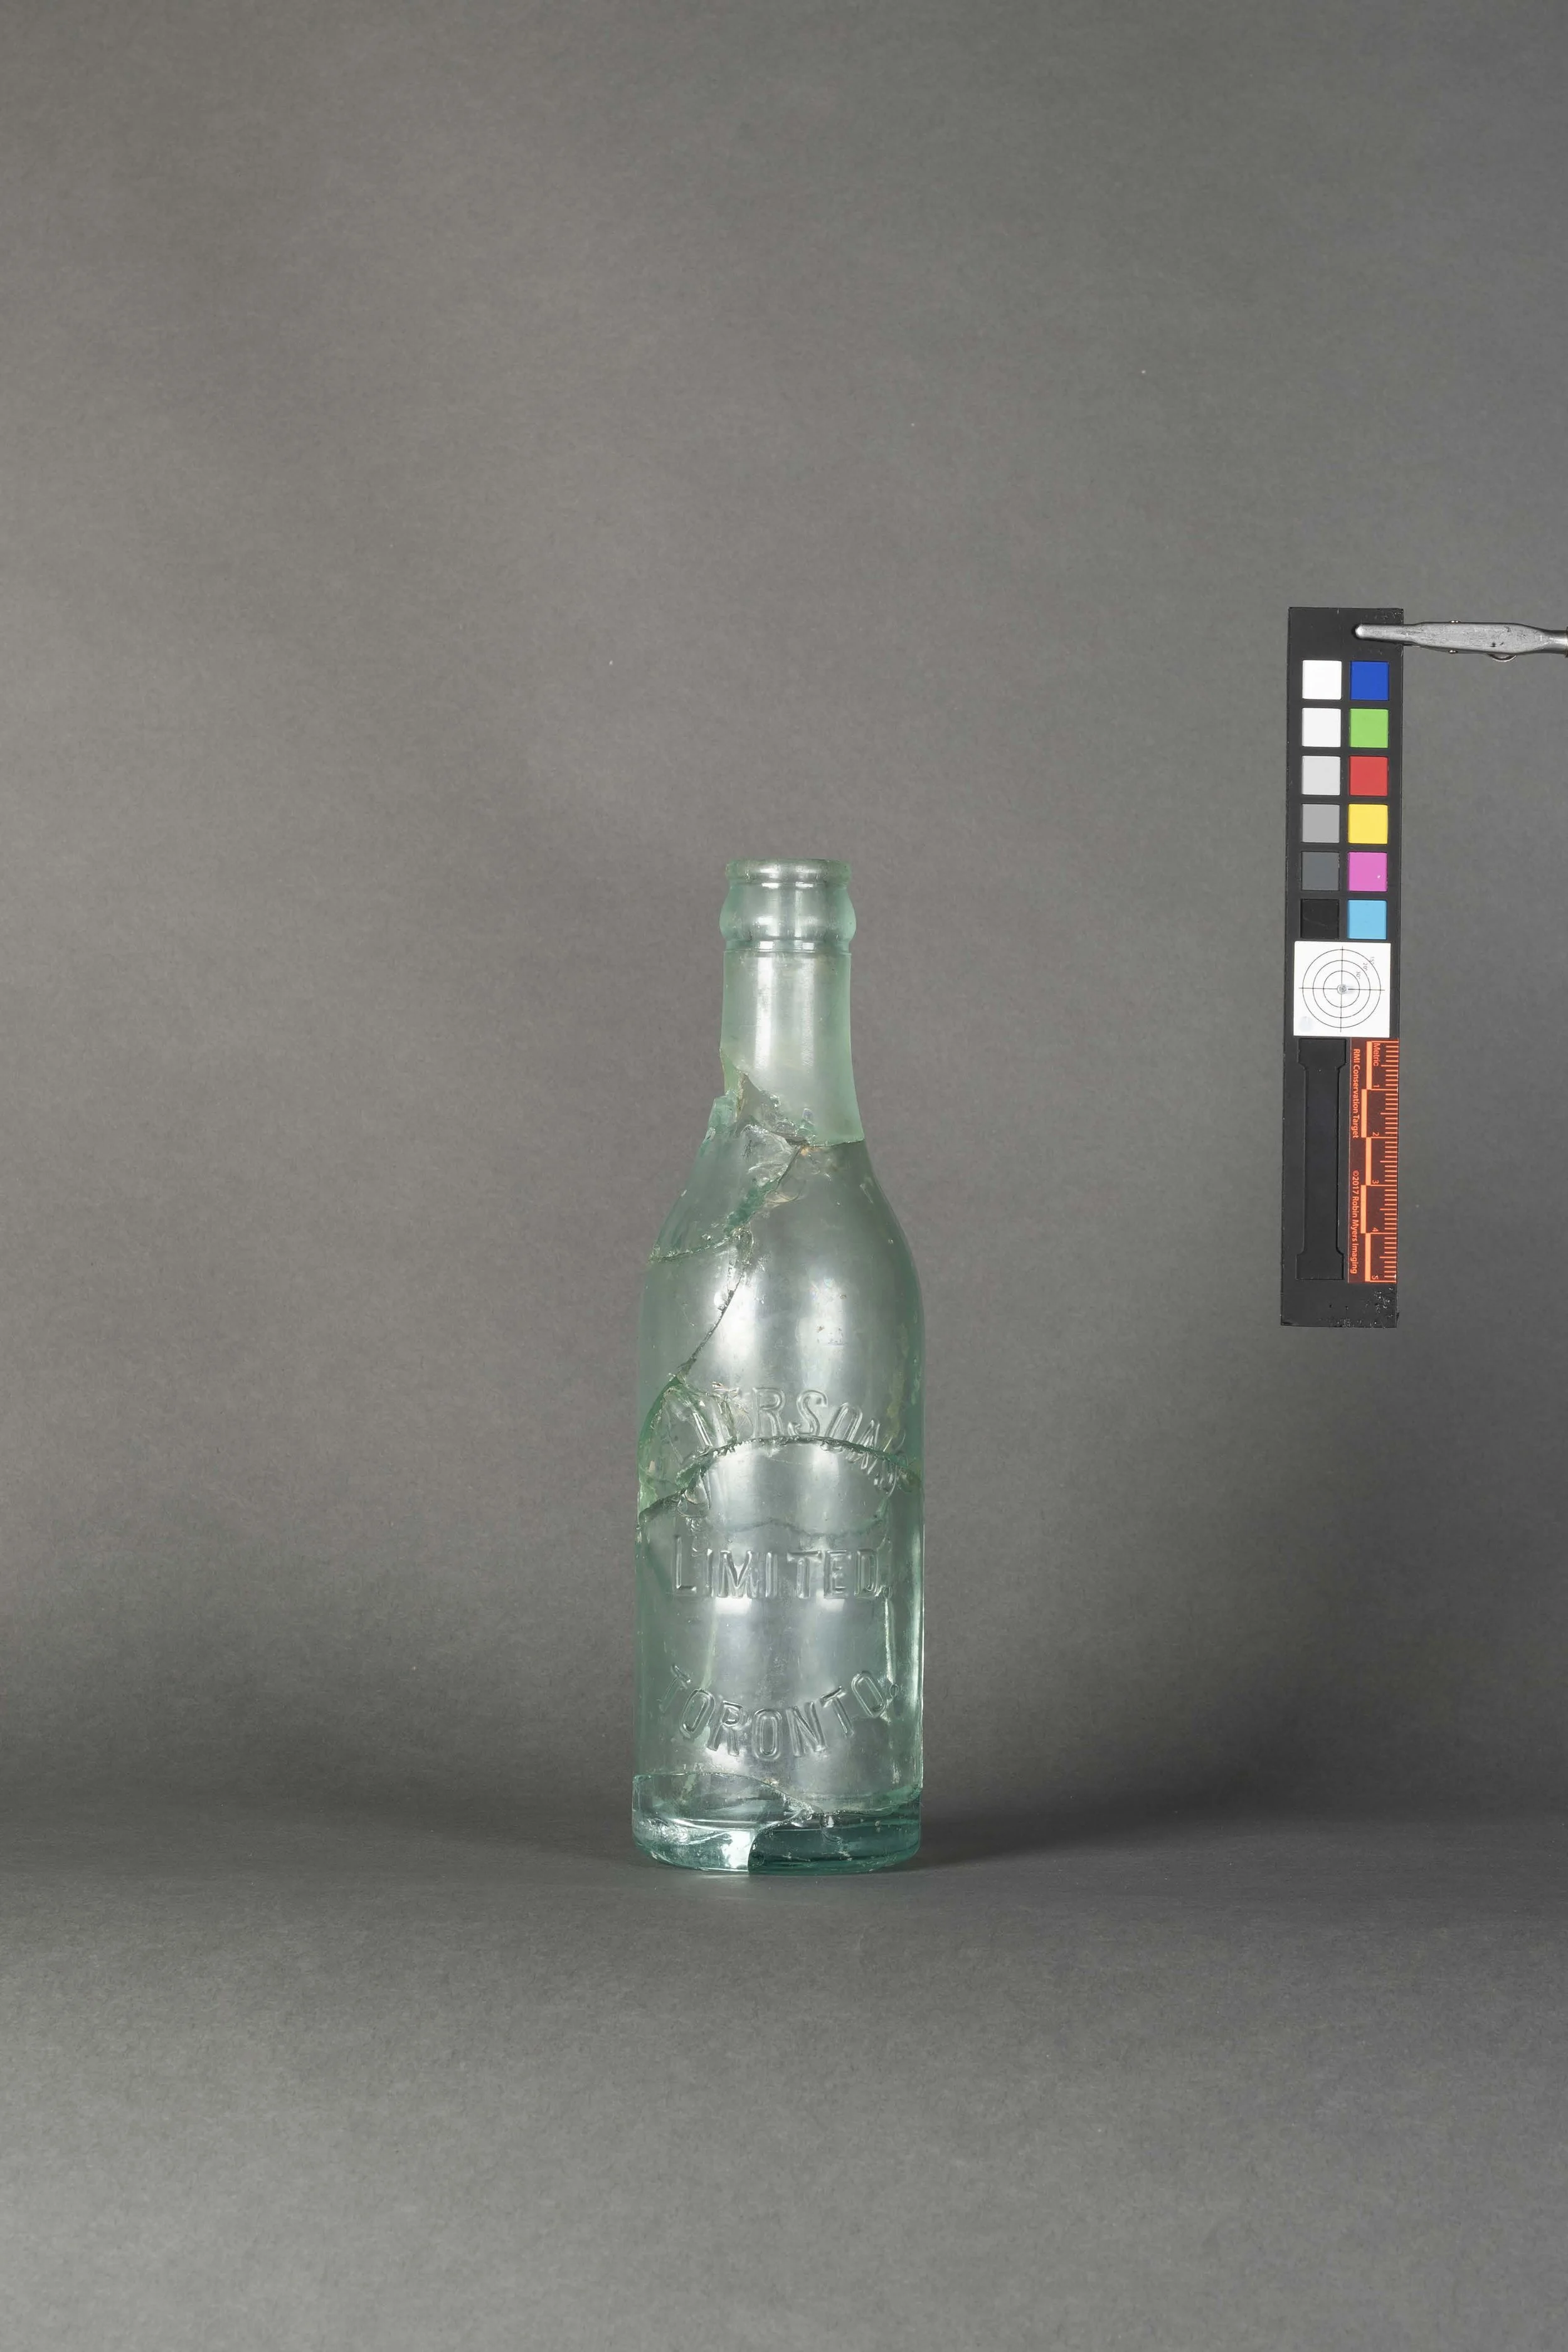
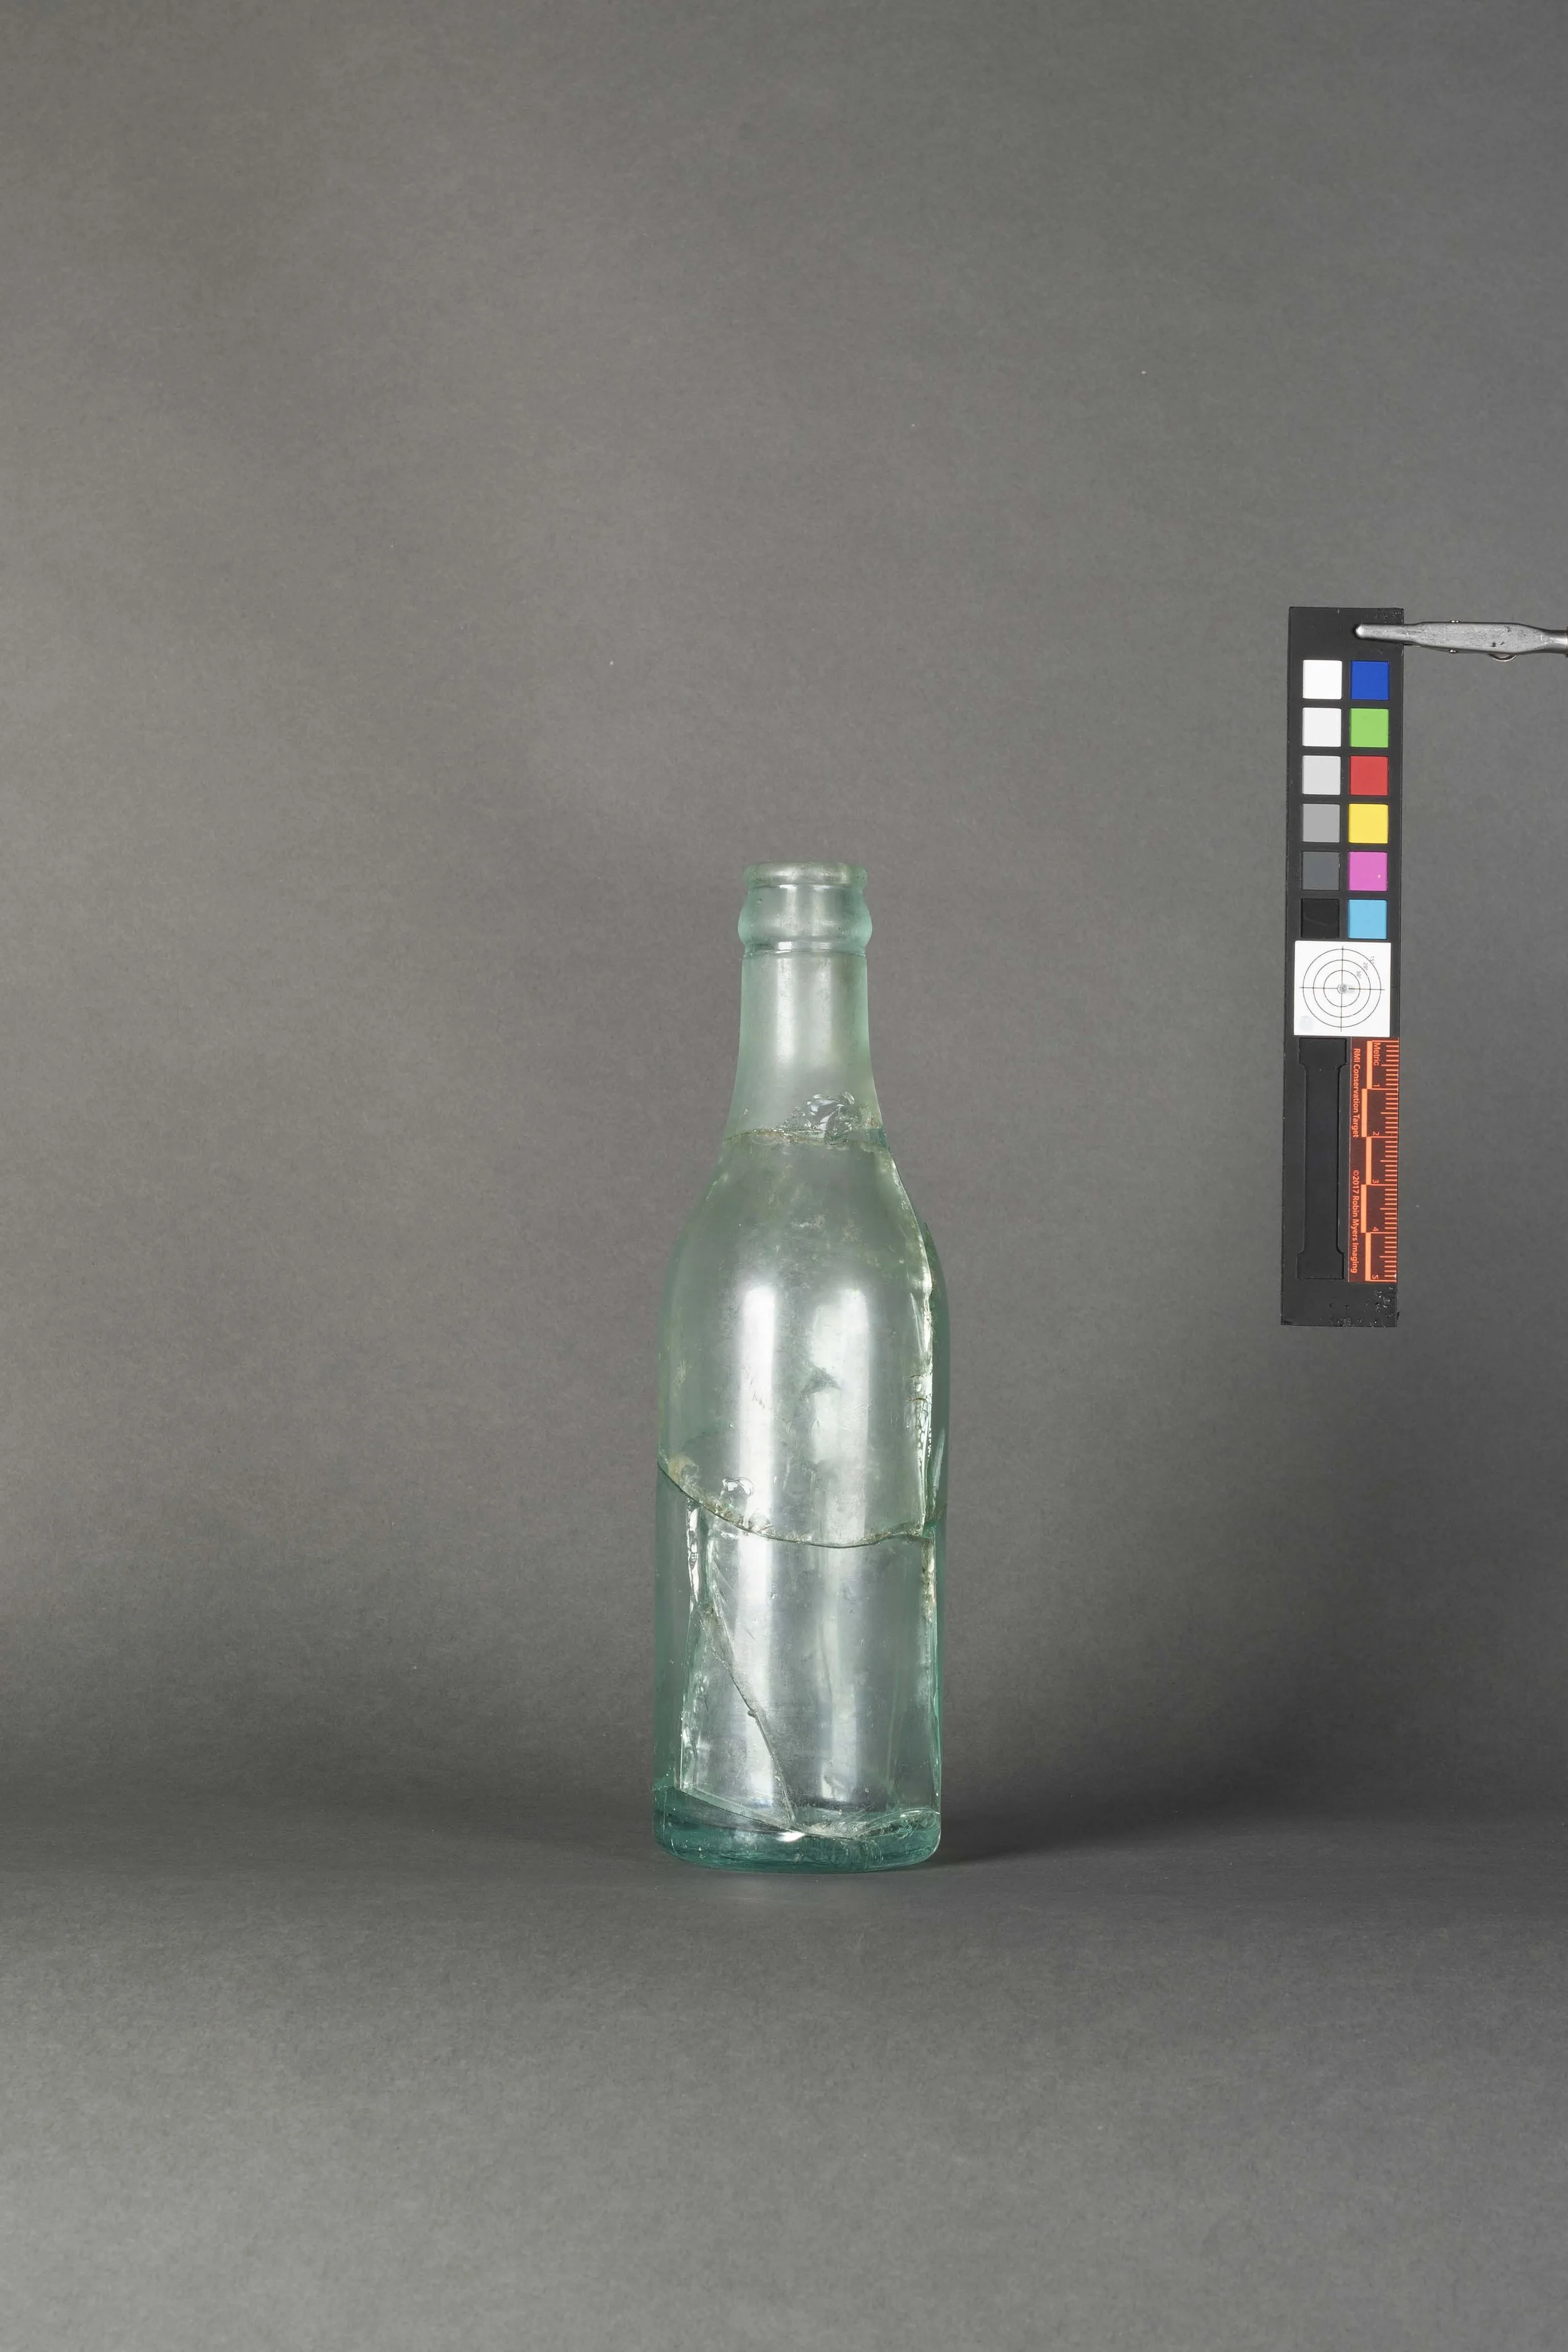
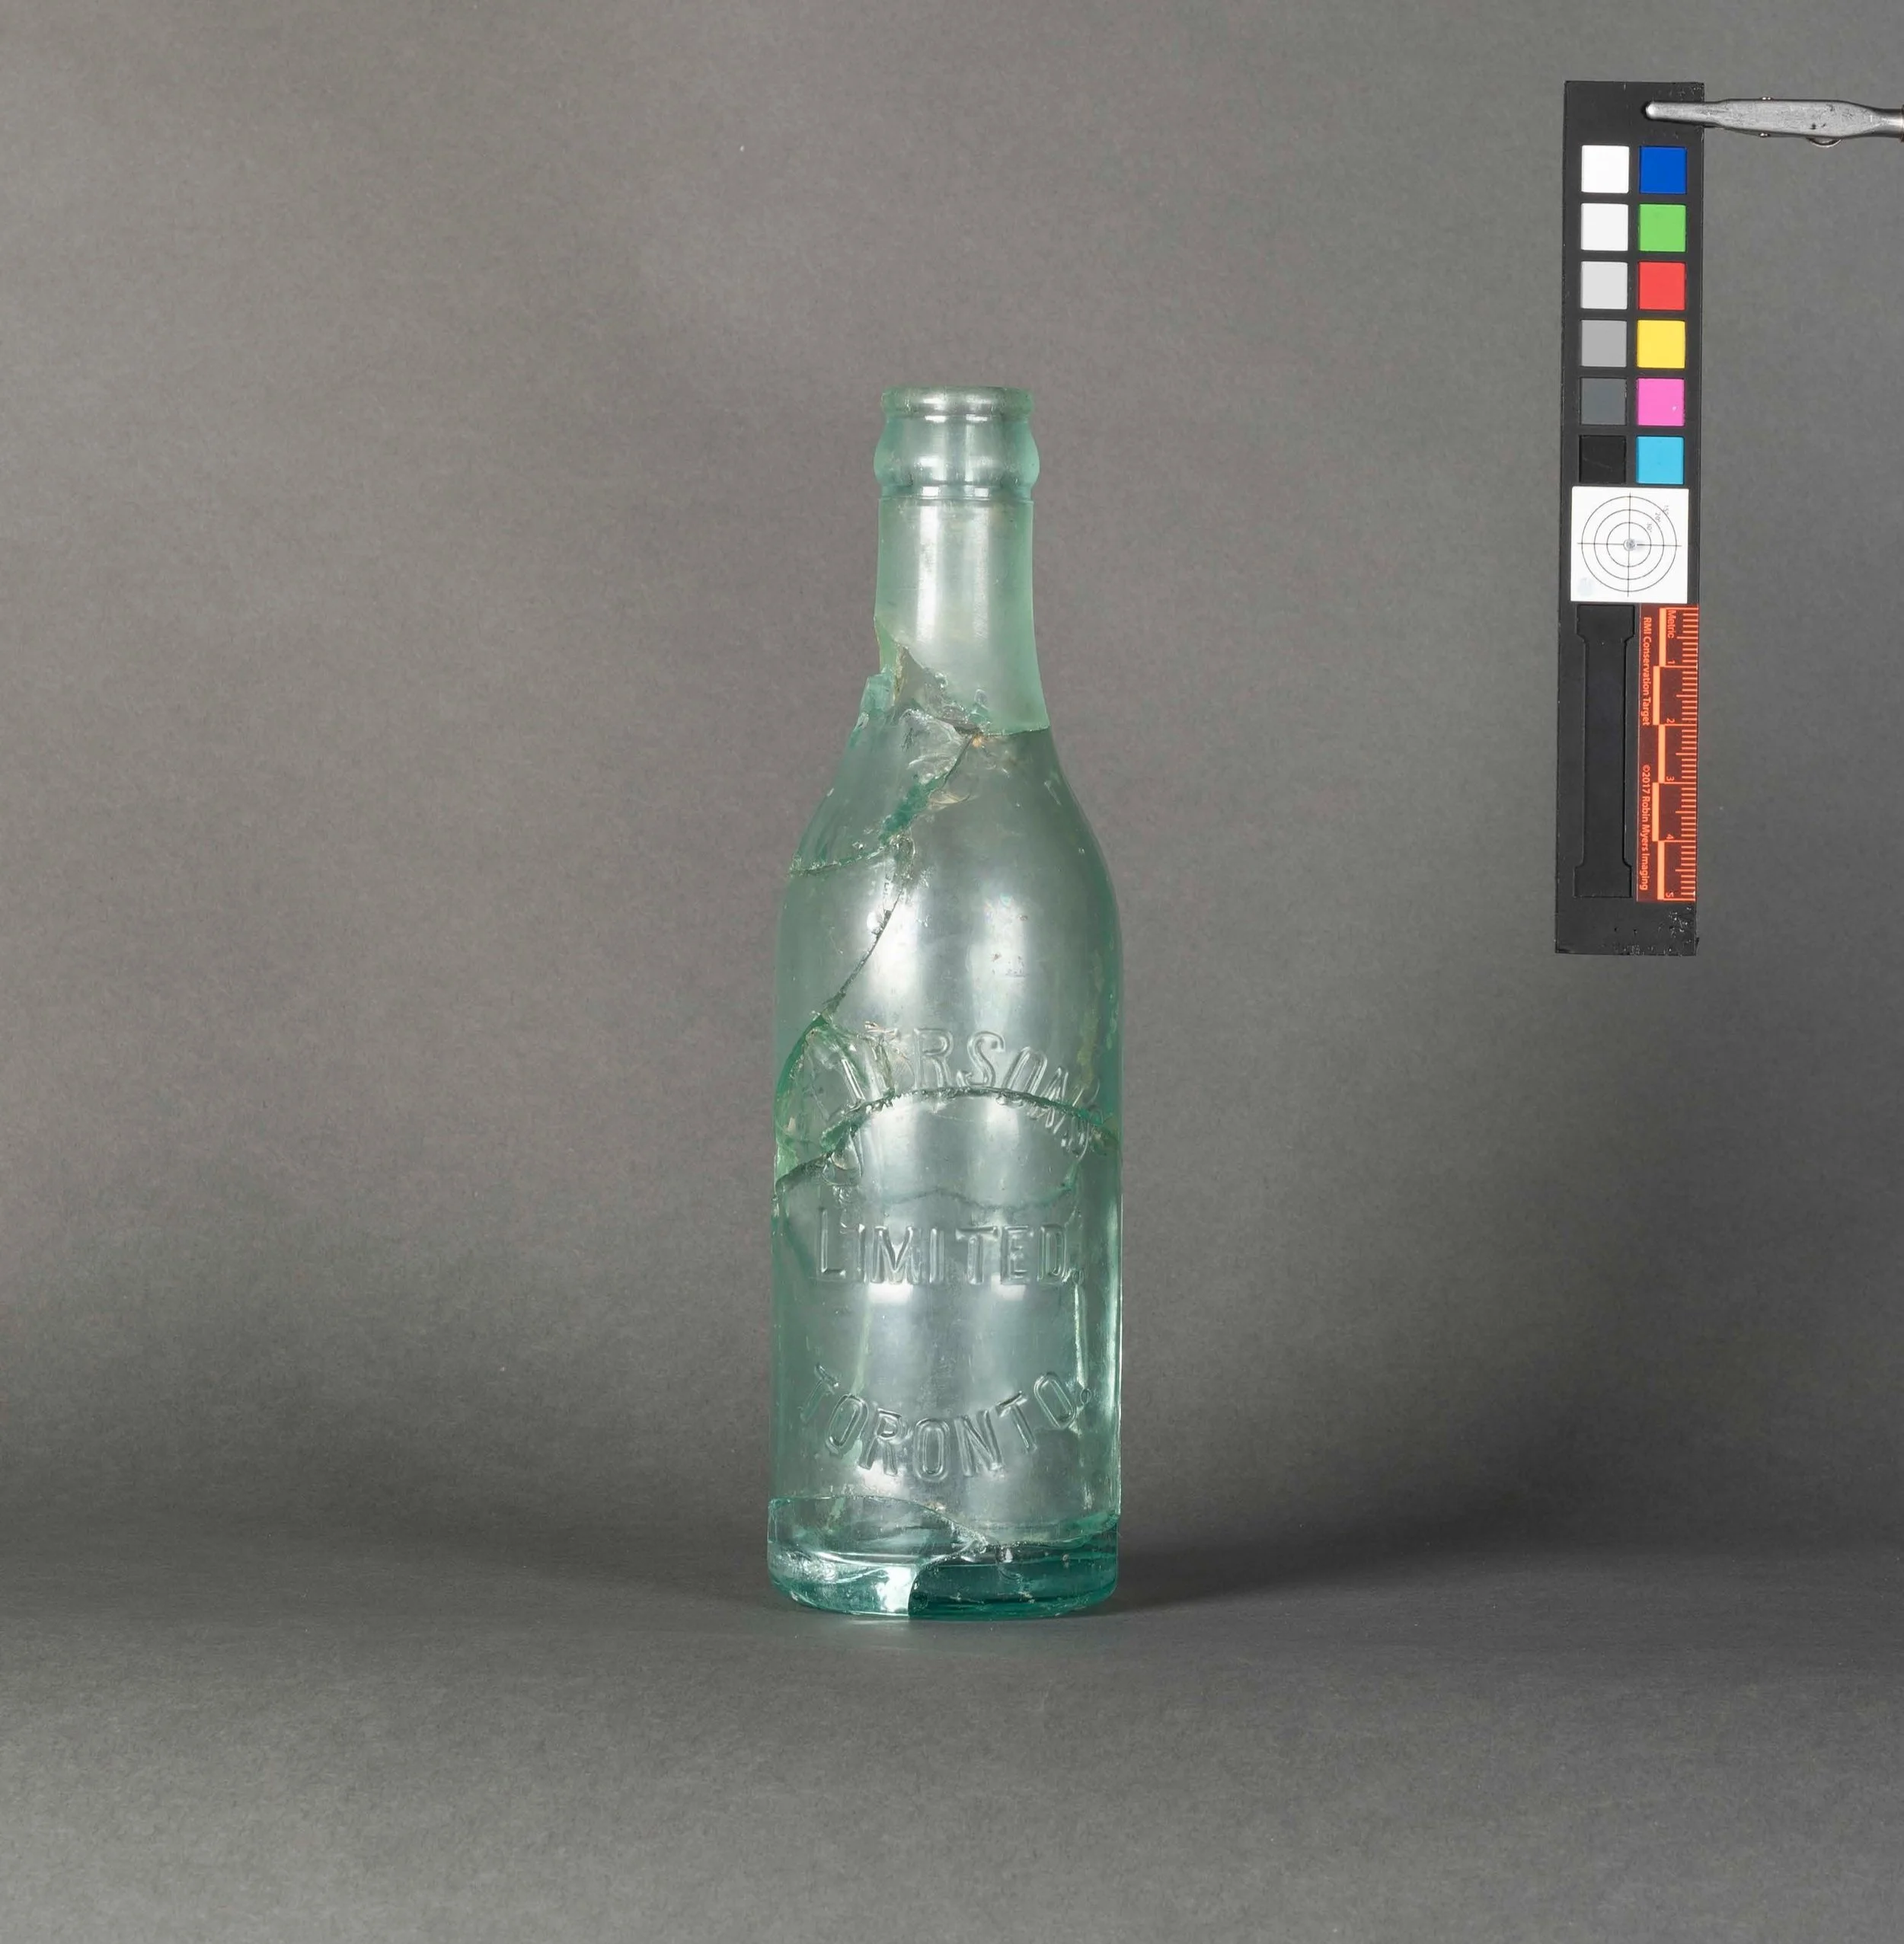
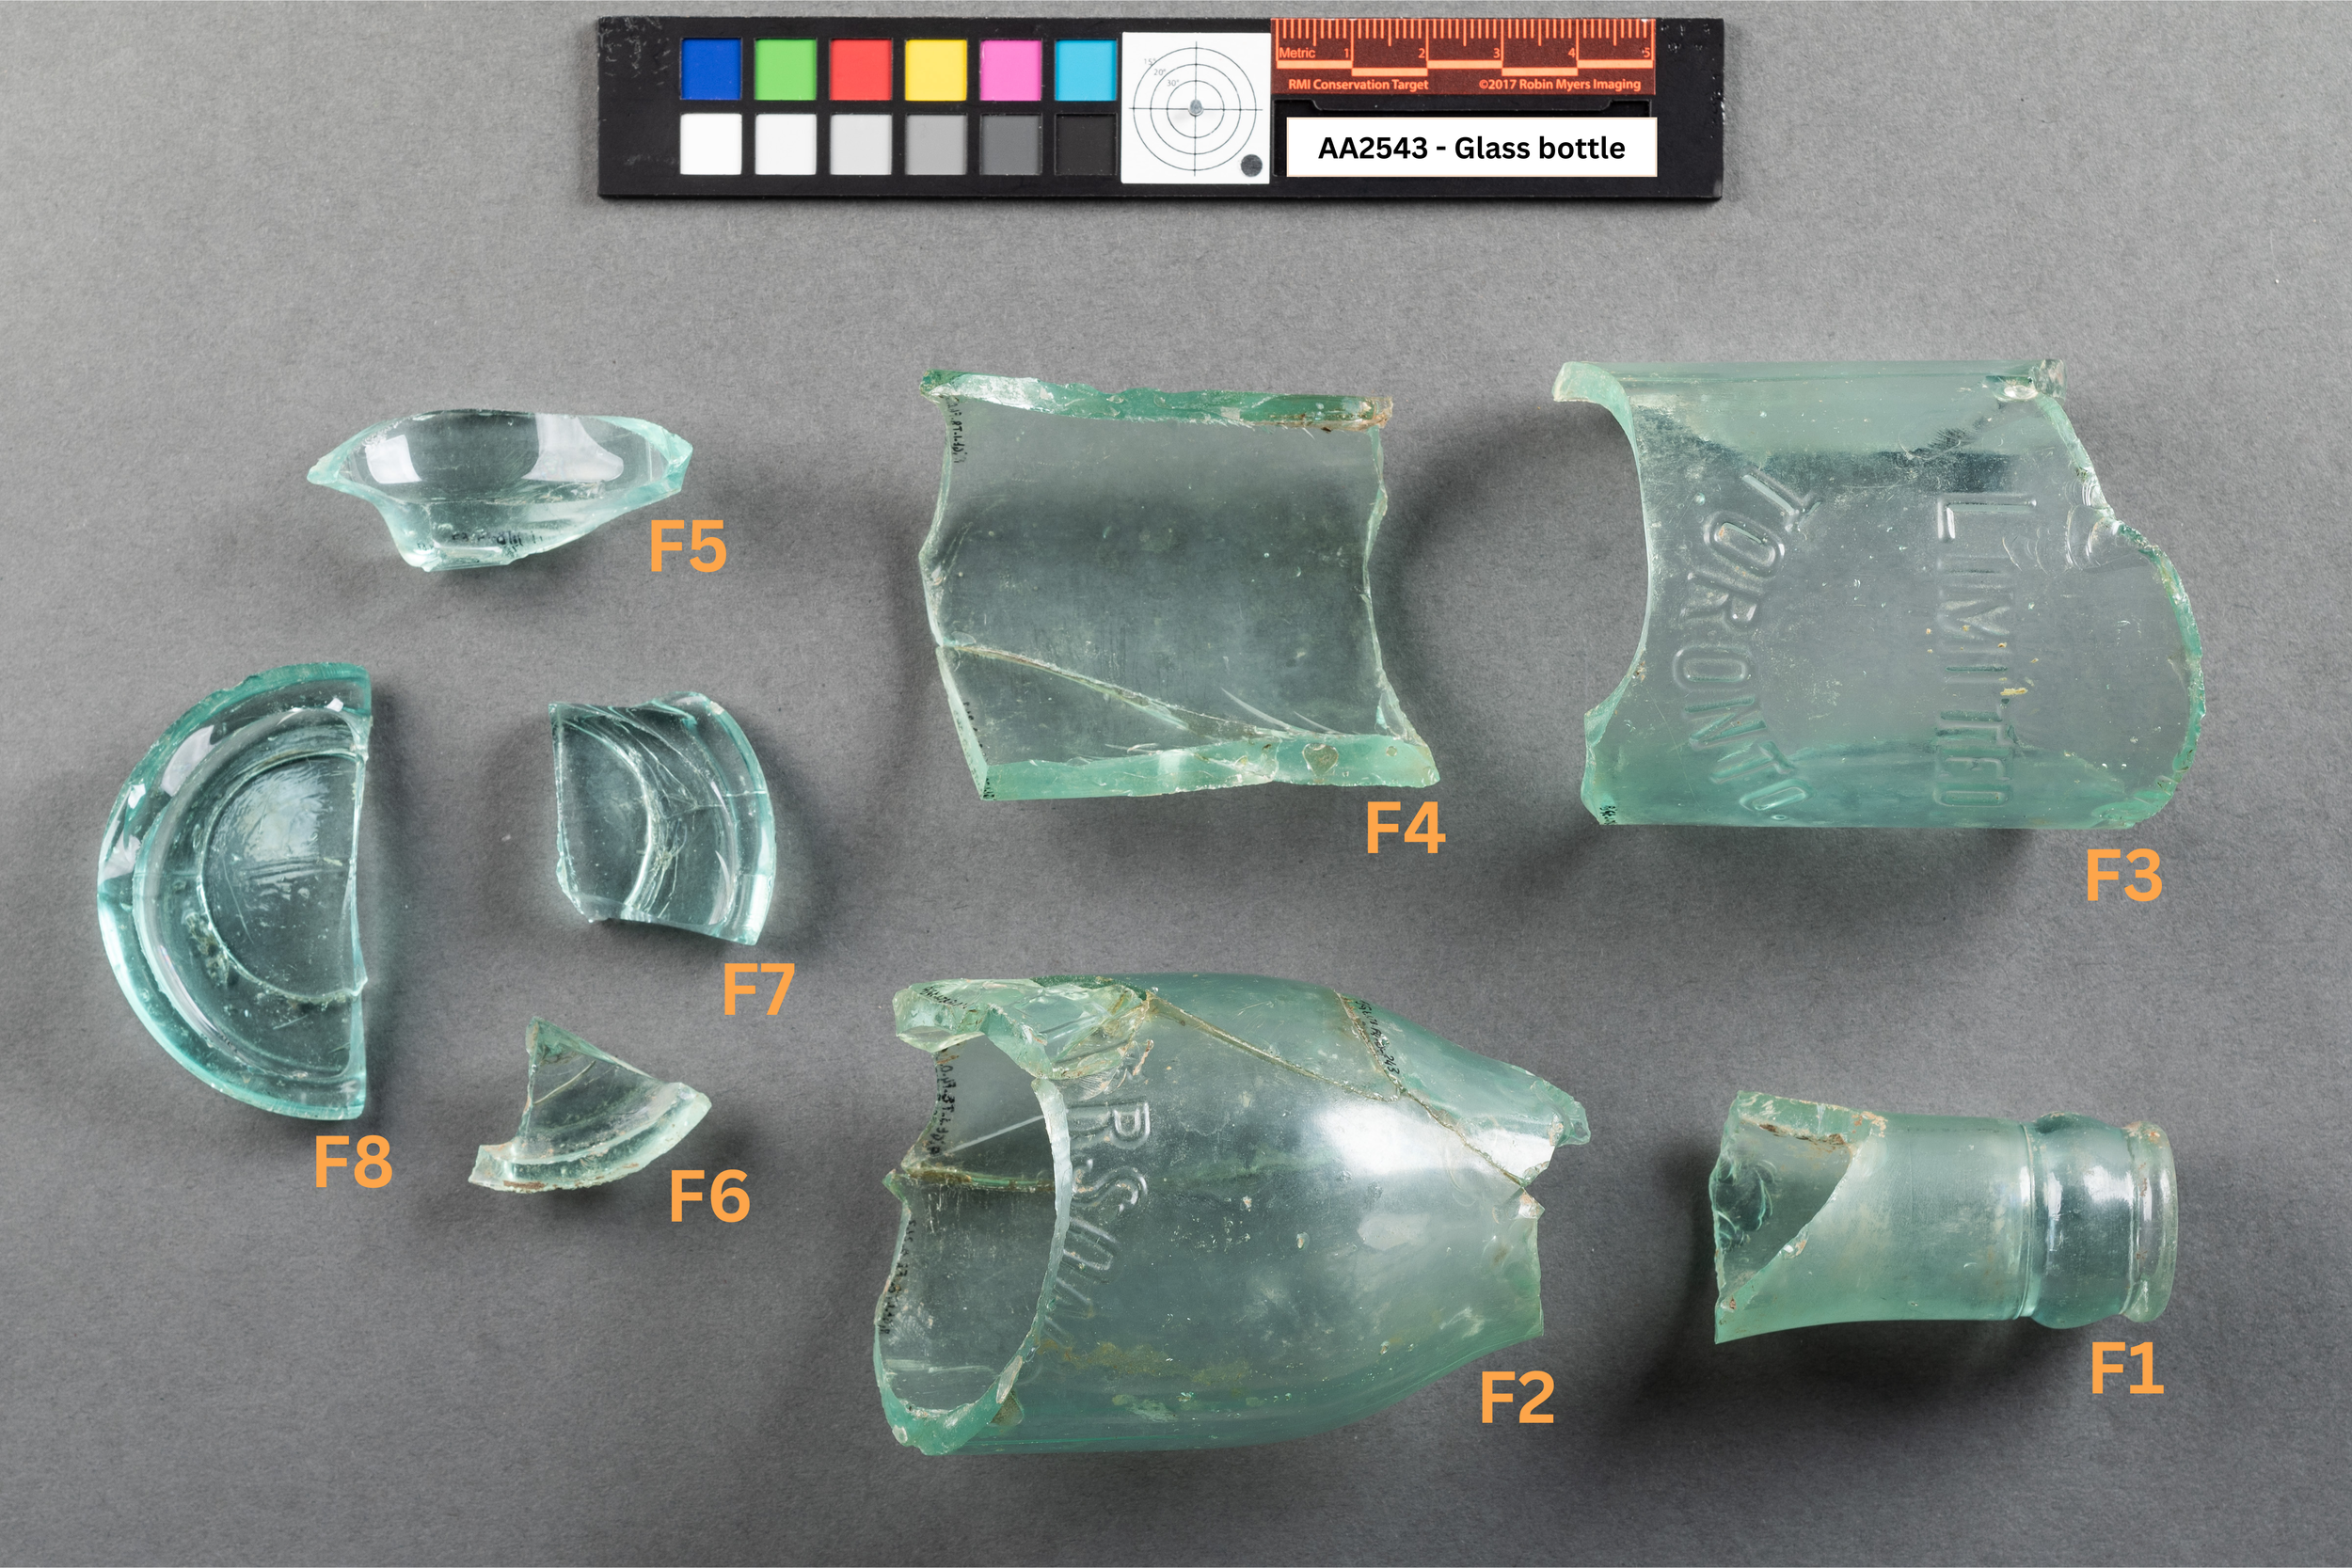
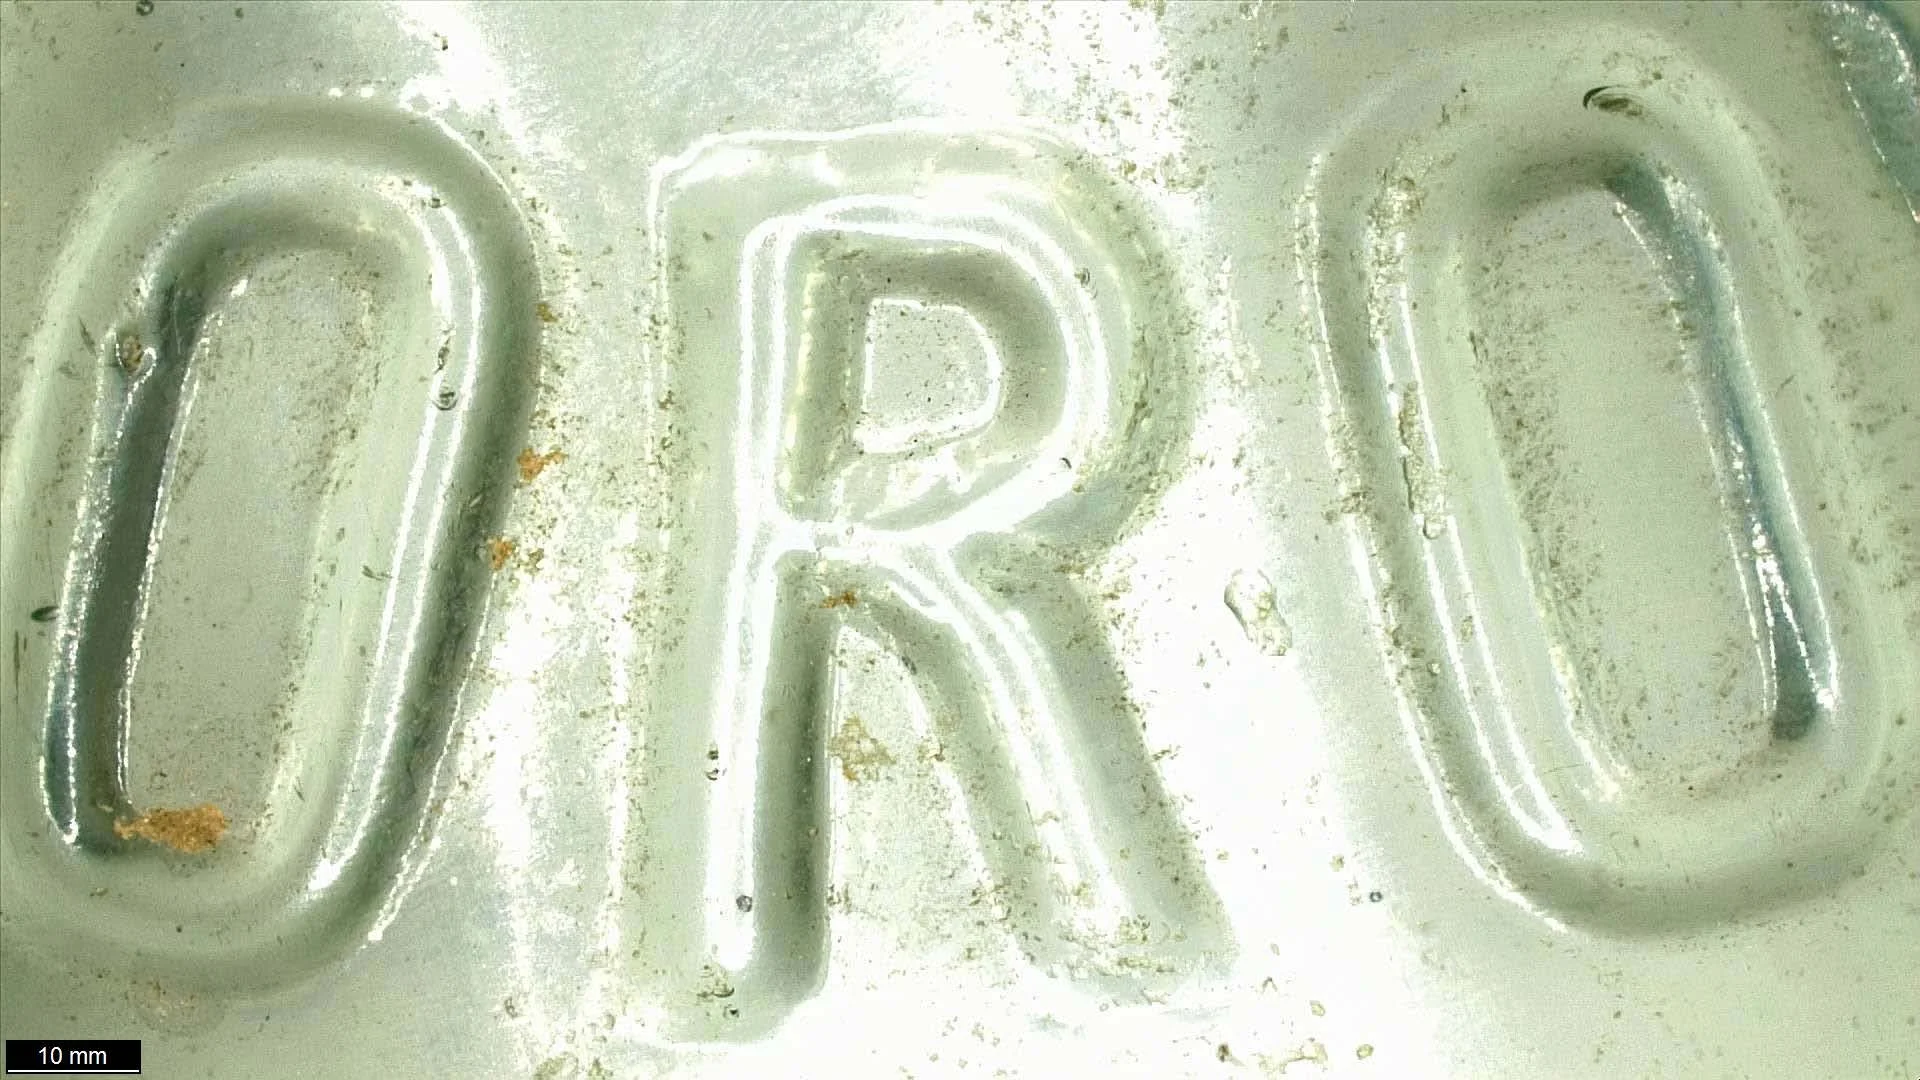
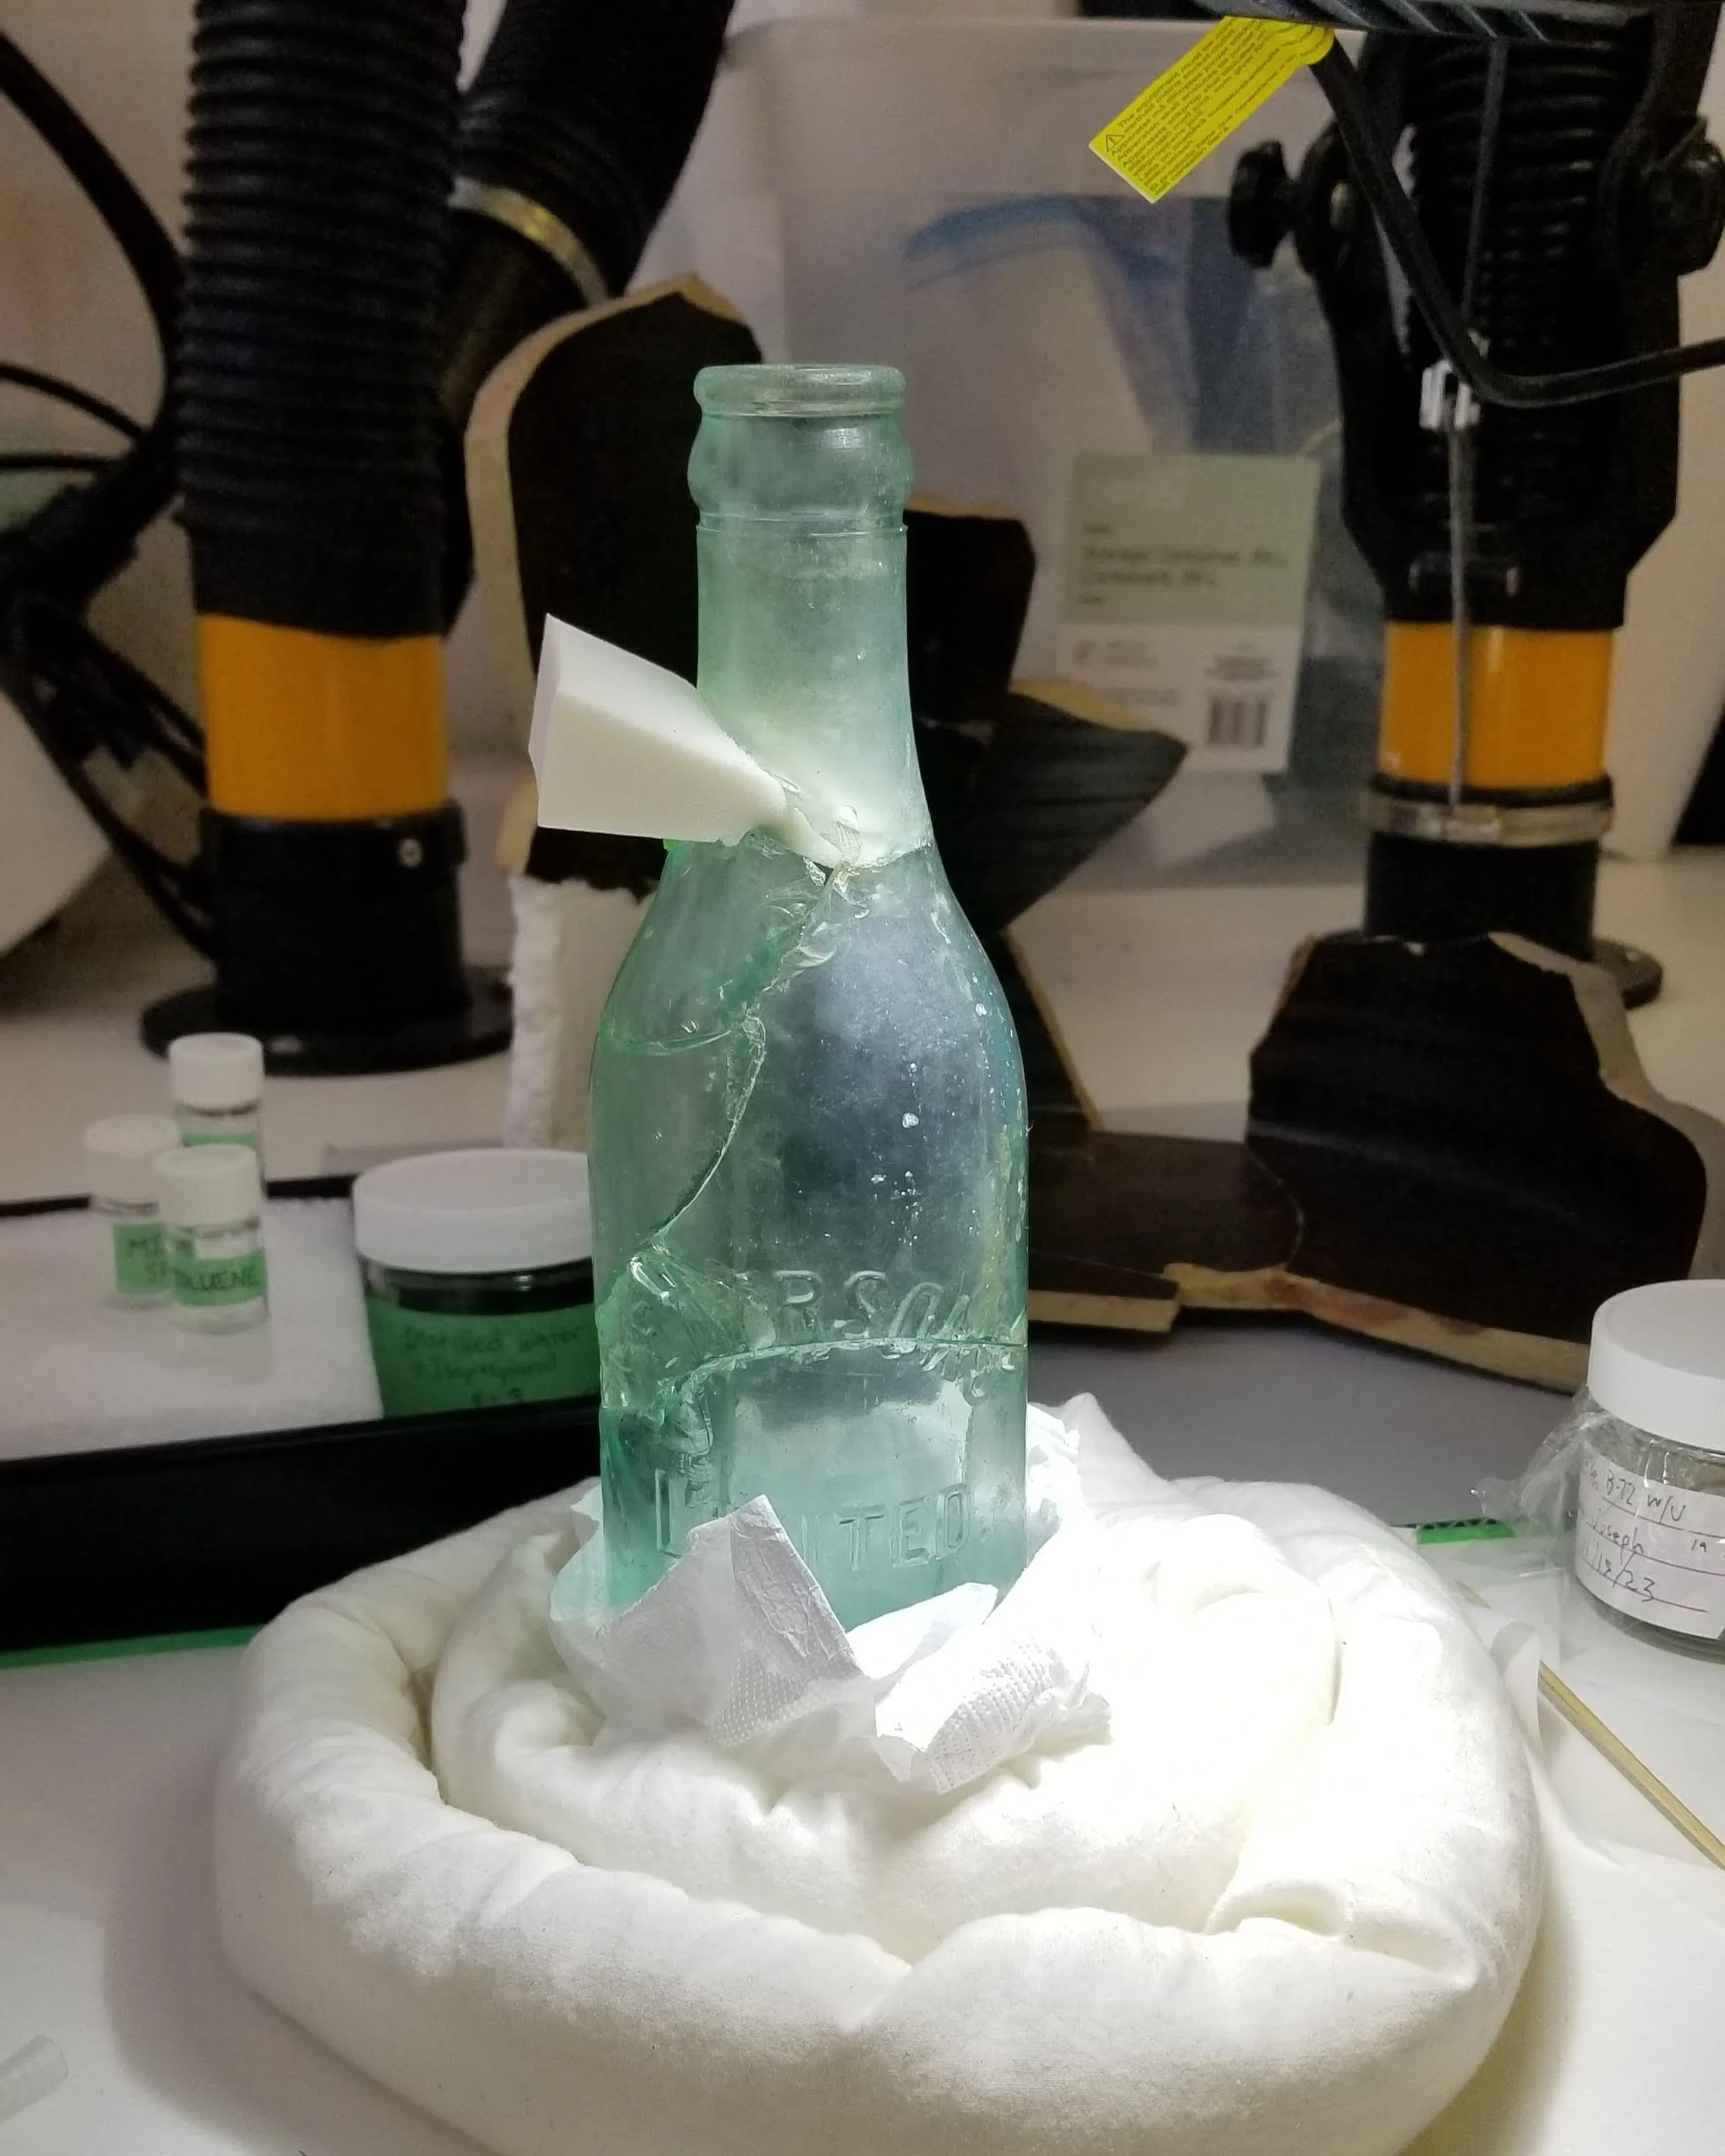
This glass beverage bottle was excavated in 1988 on the Ashbridge Estate, a historically significant site just east of Toronto, Ontario, Canada. Having been disposed of on the Estate some time before 1930, the bottle was found broken into 13 fragments. The glass is tinted turquoise with embossed arched text on one side which, after the bottle was reassembled, reads: “-ETERSON’S LIMITED. TORONTO.” After excavation the fragments had been partially adhered together but the epoxy resin used at the time was aging poorly and significantly discoloured.
The bottle was brought to the Queen’s University Art Conservation lab to be cleaned, stabilized, and repaired for public display. It was also intended to be part of a reference collection in the Ontario Heritage Trust’s Online Public Access Catalogue. I was tasked with doing additional research on the materials and manufacture to provide extra context for the reference collection.
Historical background
The Ashbridge Estate in Toronto had been continuously occupied by the same family from 1793 to the late 1990s. According to the Ontario Heritage Trust, the glass bottle was most likely made during the early 20th century, no later than 1930. This estimate aligns with the available technology of the time. Prior to the early 20th century, commercial glassmaking in Canada had been done by hand, a process which allowed for a wide variation in container shapes, colours, and closure types. In 1903, the invention of the Owens Automatic Bottle Machine, described as a “mechanical monster,” marked a decline in commercial glass craftsmanship. The Dominion Glass Company acquired an Owens Machine in 1906 and held a monopoly on machine-made glass bottle production across the Great Lakes region, operating plants in various cities including Toronto.
Businesses requiring bottles for their products would choose from a catalogue of shapes that were based on hand-blown forms of popular containers like soft drink, beer, and milk bottles. The typical process of the Owens Machine is as follows: A gob of glass is sucked into a parison or ”blank” mold—which forms the preliminary bottle shape—and is held in place by the neck ring portion of the mold. The machine forces air into the mold to add volume to the gob, then this “pre-bottle” is shifted to a second blow mold where the body is expanded to the desired size. Once the bottle has been formed, it is removed from the blow mold and sent to the next stage for annealing (hardening via slow cooling).
The broken bottle has subtle seams along the sides, a uniform crown finish, and embossed text bearing a business name, which are strong indicators that it was machine-made. Although the standardized manufacturing process reduced the options for bottle shapes and closures, there were options for customization. Plate molds had removable sections that could be replaced by a plate engraved with the customer's name, logo, and product name, and there are faint seams above the embossed text which indicates that this was how the bottle was customized.
As for colour, manufacturers often used modern recipes of silica, an alkaline oxide flux such as potassium oxide, stabilizers such as calcium carbonate, and colourants. The saturated blue-green tint of the bottle is also common in glass from the late 19th and early 20th centuries, which was often made from sand containing iron impurities. It is possible that the business which ordered these bottles was able to choose a unique, customized colour, but equally possible that this glass colour was simply the most economical choice.
Removing the old adhesive
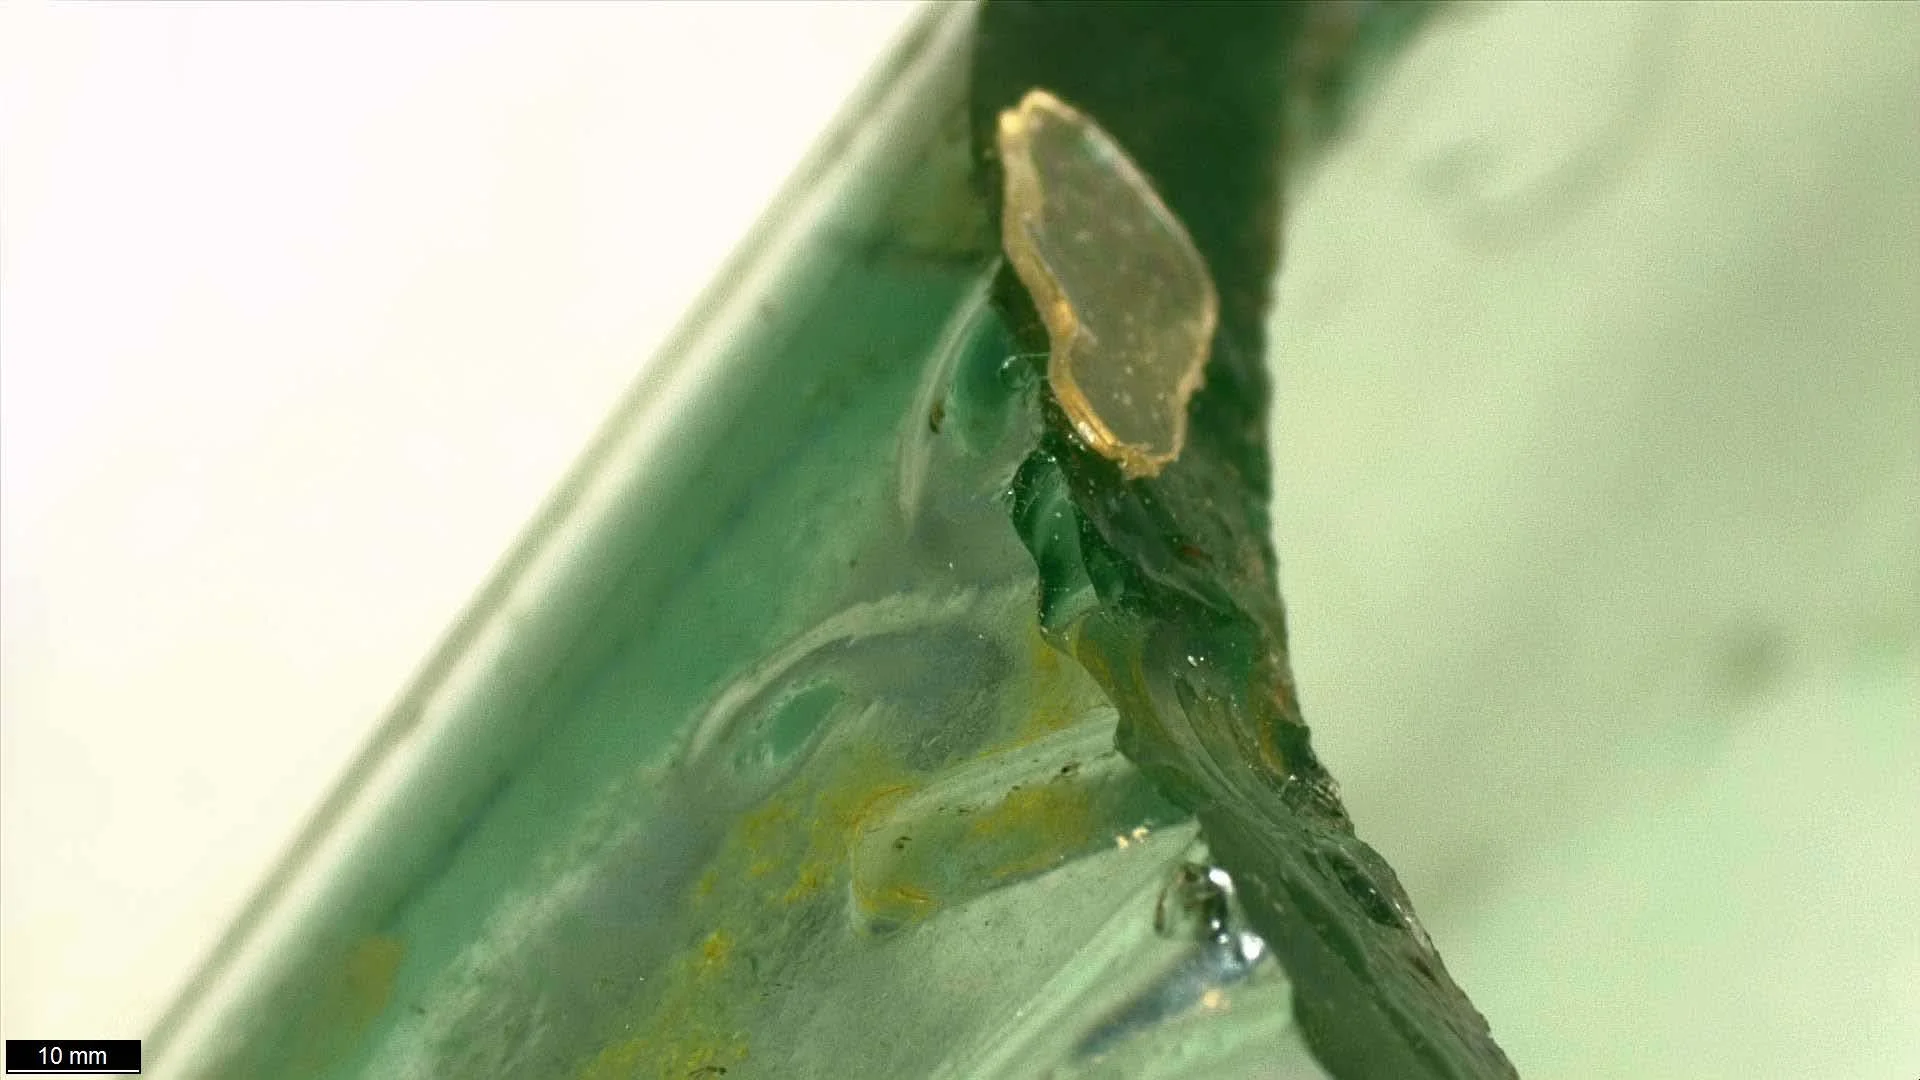
Through material analysis it was determined that the adhesive holding some fragments together was likely Homalite, an epoxy resin which contains triethylenetetramine (TETA) as a hardener and is known to darken and yellow after approximately 17 years due to natural aging. Material aging tests have shown that while Homalite has a very high bond strength after initial application, it loses strength after approximately four years. The bottle was excavated in the 1980s, nearly 40 years prior to my treatment, so it was safe to assume that the epoxy application was not recent due to its poor condition.
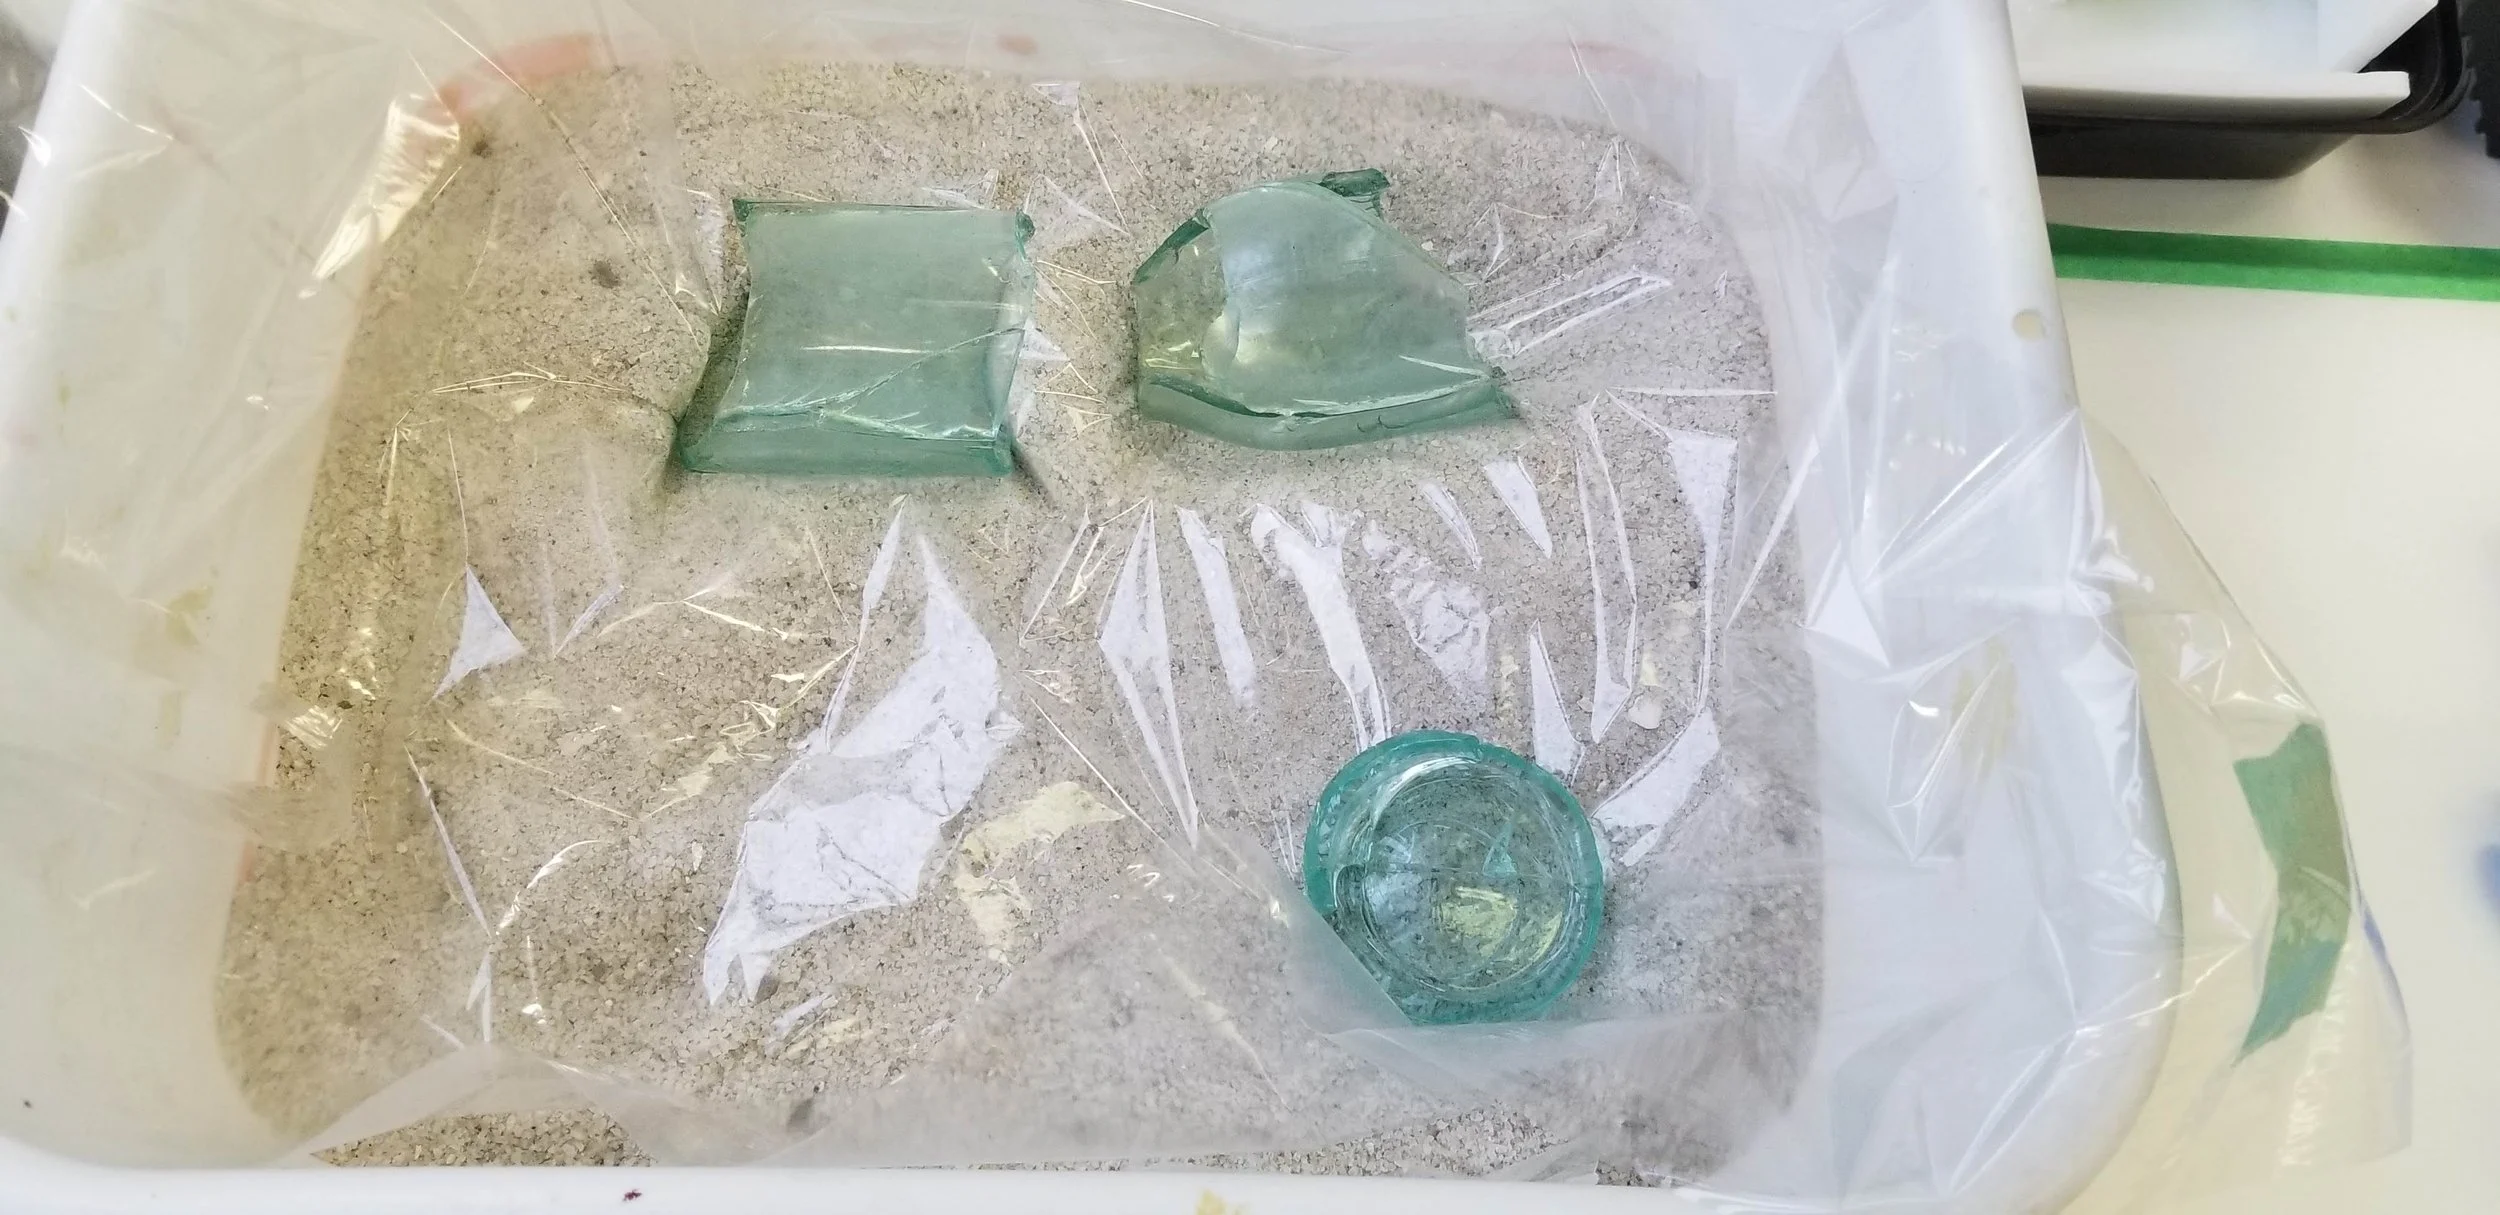
Current conservation practice discourages the use of epoxy as an adhesive due to the fact that it creates too strong a join for most materials. It is better to have the adhesive fail than to have the object fracture or tear from strain because the adhesive is too strong. In this case, with the glass being as degraded as it was due to burial conditions, a decision was made to remove the epoxy to prevent further strain and re-adhere the fragments with a safer adhesive. Solvent testing was performed on three of the numbered fragment groups, and I found that toluene was the most effective at softening the epoxy.
My initial strategy for epoxy removal required a targeted application of toluene and waiting at least 30 seconds for it to react with the epoxy. Sometimes a second application of solvent was necessary. After softening, the epoxy could be popped off the glass with a wooden skewer without damaging the surface. However, this process was very slow and not an economical use of solvent, and toluene is a skin irritant so it’s not ideal to use it in the open, even with a fume trunk removing the fumes.
In the interest of saving time and taking a less invasive approach, I experimented with other methods. The first involved applying a cotton poultice soaked in toluene to one fragment group and sealing it with plastic wrap on a ceramic tray, then leaving the tray under the lab fume hood overnight. This method did not work because the toluene evaporated through the plastic wrap and the cotton dried out leaving some of it stuck to the epoxy.
The next experiment was a vapour treatment: a 50 mL vial of toluene was placed inside a large beaker lined with a roll of Tyvek and another fragment group was placed on the Tyvek so it sat above the vial; the beaker was sealed with silicone release mylar and a rubber band. The vapour chamber was left under the fume hood overnight for three nights, after which time the epoxy had softened slightly but not enough to separate the fragments. The chamber was sealed again and left for another three nights—progress checked every day—until the fragments came apart in my hand as I lifted them out of the beaker to check. Thankfully no additional damage occurred, but it was clear that this method was most effective!
Completing the treatment
Following the separation of the fragments, surface cleaning began. The bottle fragments had small shell-shaped fractures and dirt encrustations that were typical for its time buried in the ground. During solvent testing, mineral spirits were determined to be very effective at removing dirt and softening encrustations on the glass surface, particularly in areas with variable features like the embossed company logo.
The bottle fragments were reassembled with Paraloid B-72 dissolved in acetone, an adhesive with more appropriate strength and better aging outcomes; this repair will be much easier to re-treat in the future. In order to increase the stability of the joinery on the neck, a few small epoxy resin fills were added. This epoxy was fully cured before use and does not pose the same risk of failure as Homilite.
Another piece of epoxy resin was placed in the shoulder of the bottle for aesthetic cohesion and structural support. The fills were tinted with powdered pigments to match the glass colour. This was my first glass treatment and if I were to repeat it, I would spend more time on making the fills so they would fit more seamlessly into the broken edges (instead, I cut flat squares and triangles and used them in a sort of mosaic to mend the gaps). However, the goal of the treatment was achieved so I am ultimately satisfied.